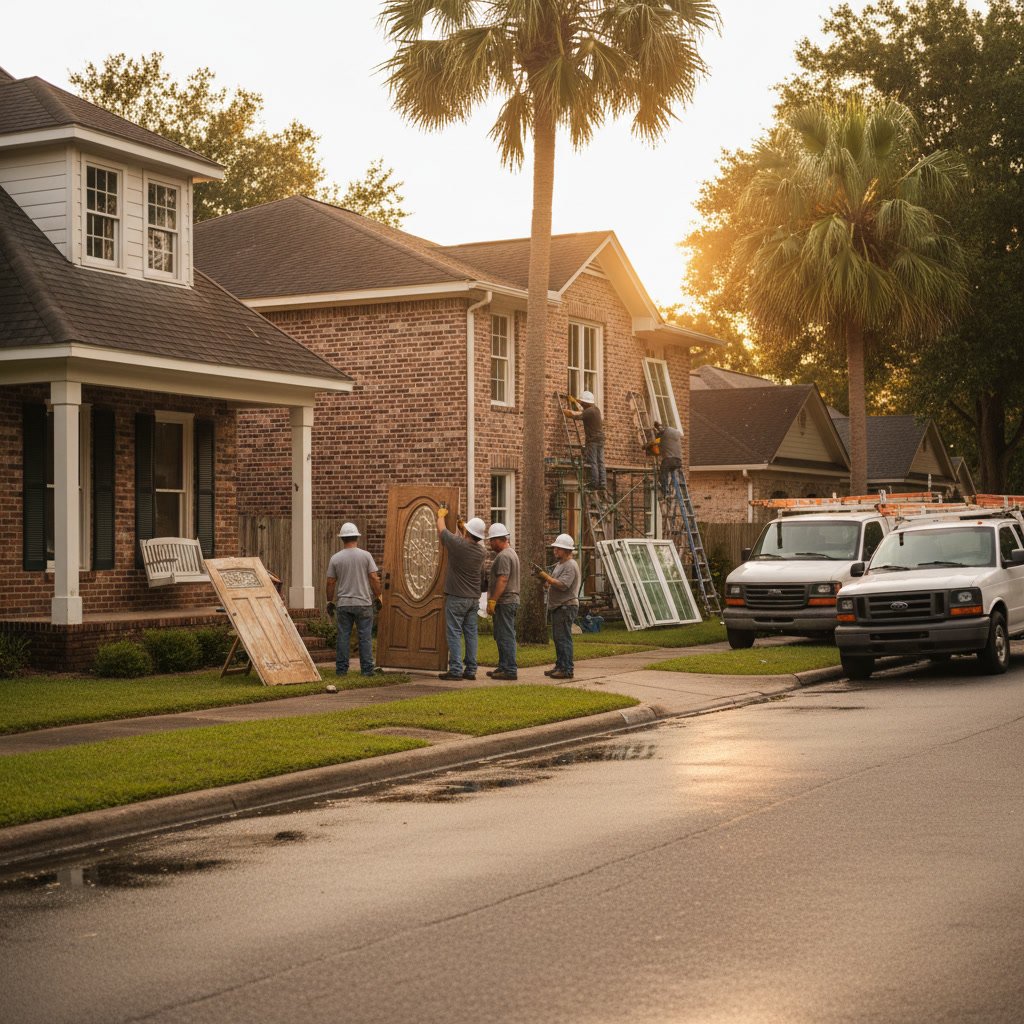
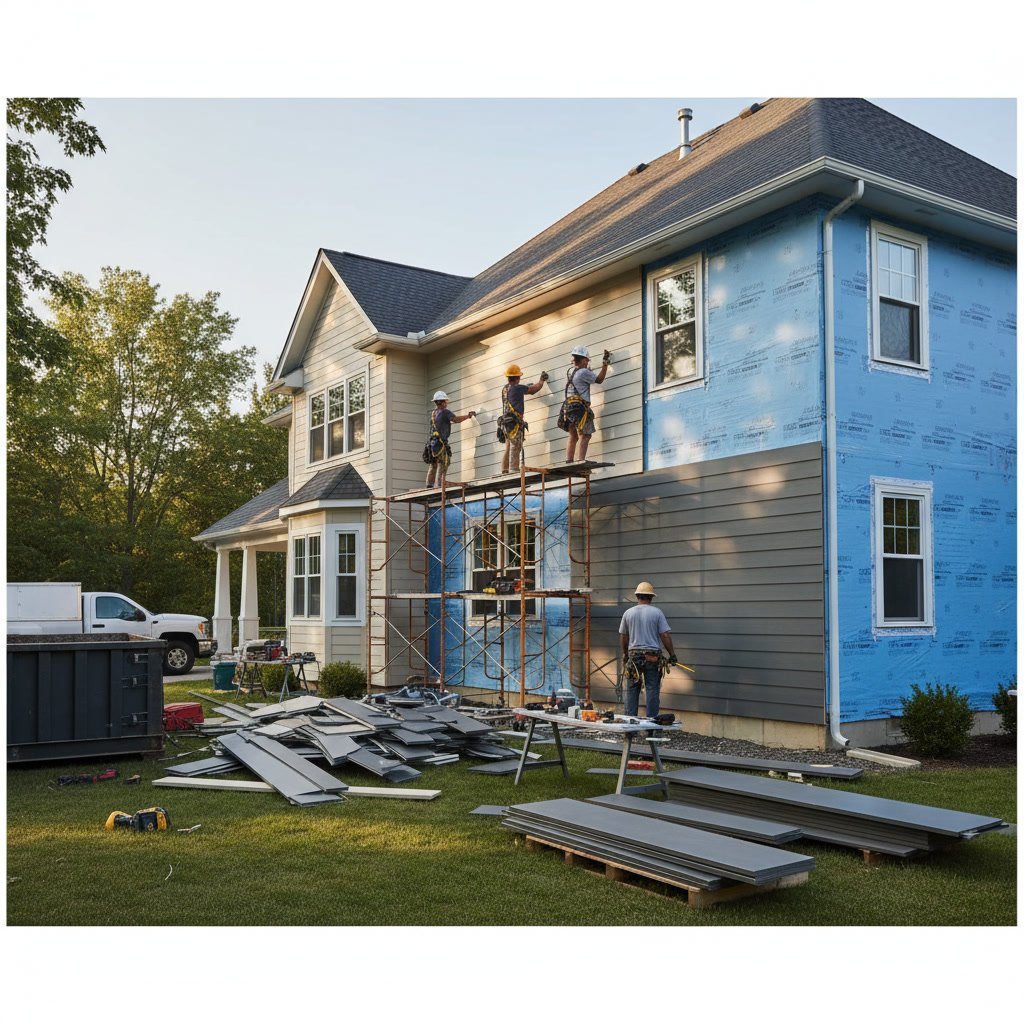
A professional siding replacement installation follows a systematic process that typically takes three to seven days, depending on your home’s size and complexity. The work involves removing old siding, inspecting and repairing the substrate, installing moisture barriers, applying new siding panels, and finishing all trim details. Understanding each phase helps you prepare your property and recognize quality workmanship throughout the project.
Why Proper Installation Matters More Than Material Selection
Your choice of siding material certainly affects your home’s appearance and durability, but installation quality determines whether that siding performs as intended. Even premium materials fail prematurely when installers skip critical steps like proper flashing, ventilation gaps, or fastener placement. The substrate preparation, moisture management, and attachment methods separate professional installations from rushed jobs that lead to warping, water intrusion, and voided warranties.
Most manufacturers void their product warranties if installers deviate from specified installation protocols. This means the skill and attention to detail during installation directly impact both your investment protection and your home’s long-term weather resistance.
Pre-Installation Inspection and Preparation
Before any removal begins, professional installers walk your property to identify potential complications. They check for structural issues, measure wall surfaces, document existing damage, and note obstacles like electrical fixtures, hose bibs, and utility meters. This inspection reveals whether your sheathing or framing needs repair work that would otherwise remain hidden until mid-project.
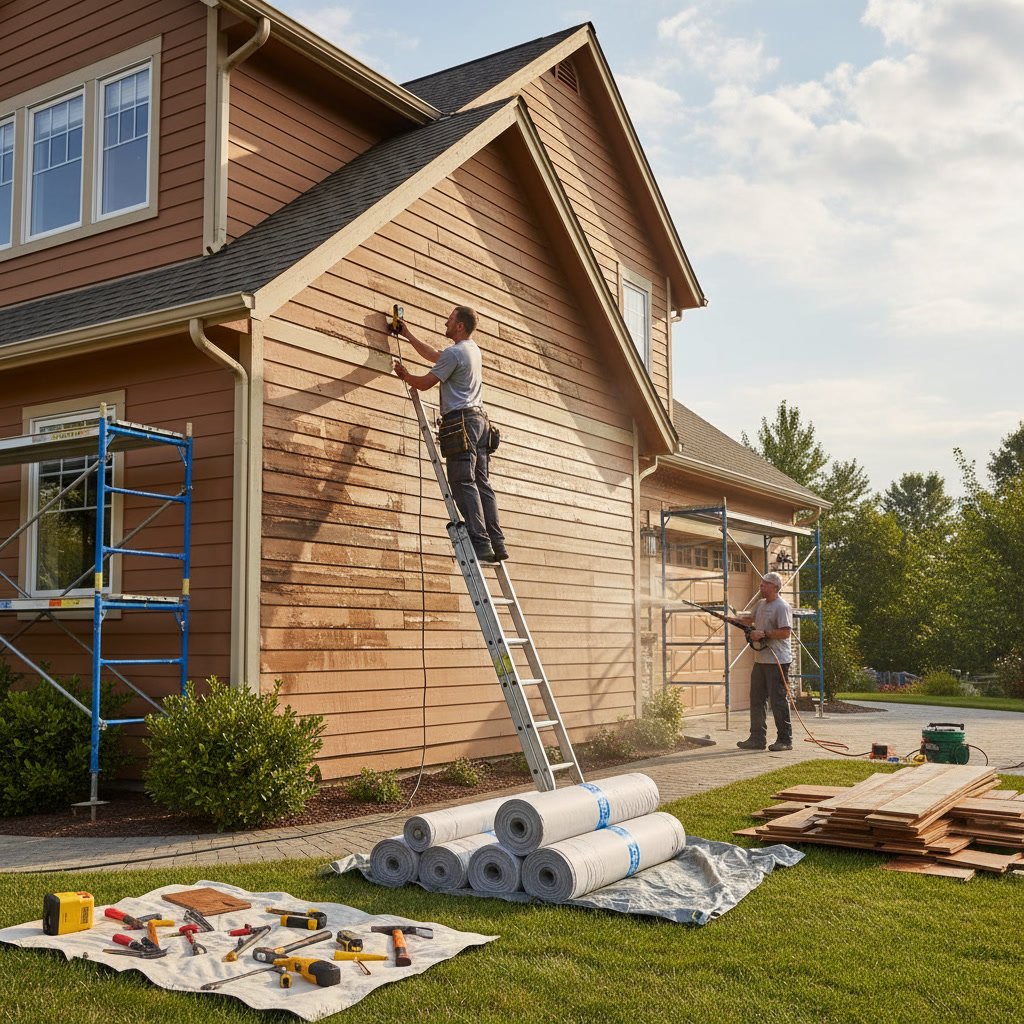
Crews also protect your landscaping, outdoor fixtures, and entryways with drop cloths and temporary barriers. They establish staging areas for materials and debris containers, ensuring efficient workflow without damaging your lawn or garden beds. Quality contractors photograph your property before work begins, creating documentation that protects both parties if disputes arise.
Removing Your Existing Siding in Acadiana
Removal starts at the top of each wall section and works downward to prevent accidental damage to lower courses. Installers carefully detach trim pieces, cornerboards, and J-channels before pulling the siding itself. This methodical approach allows them to salvage any pieces you might want to keep for shed repairs or future patches.
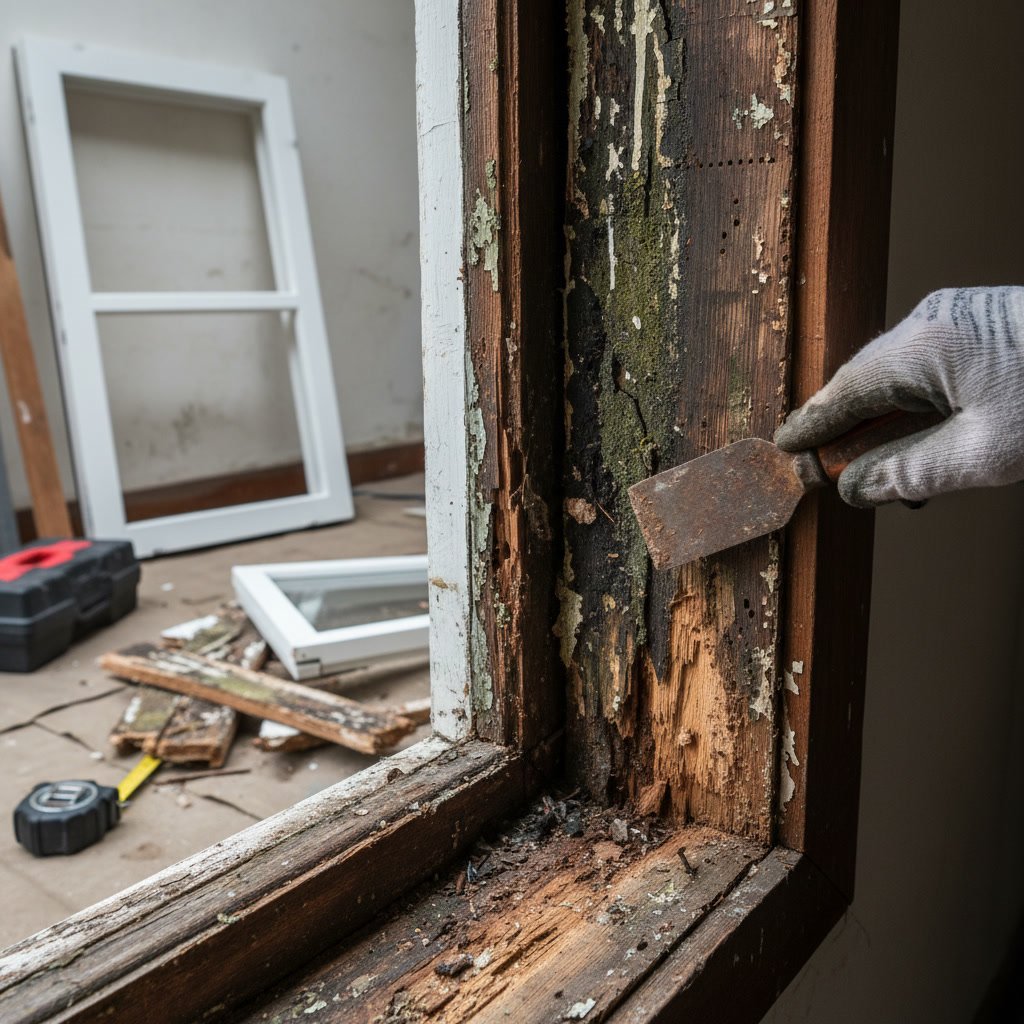
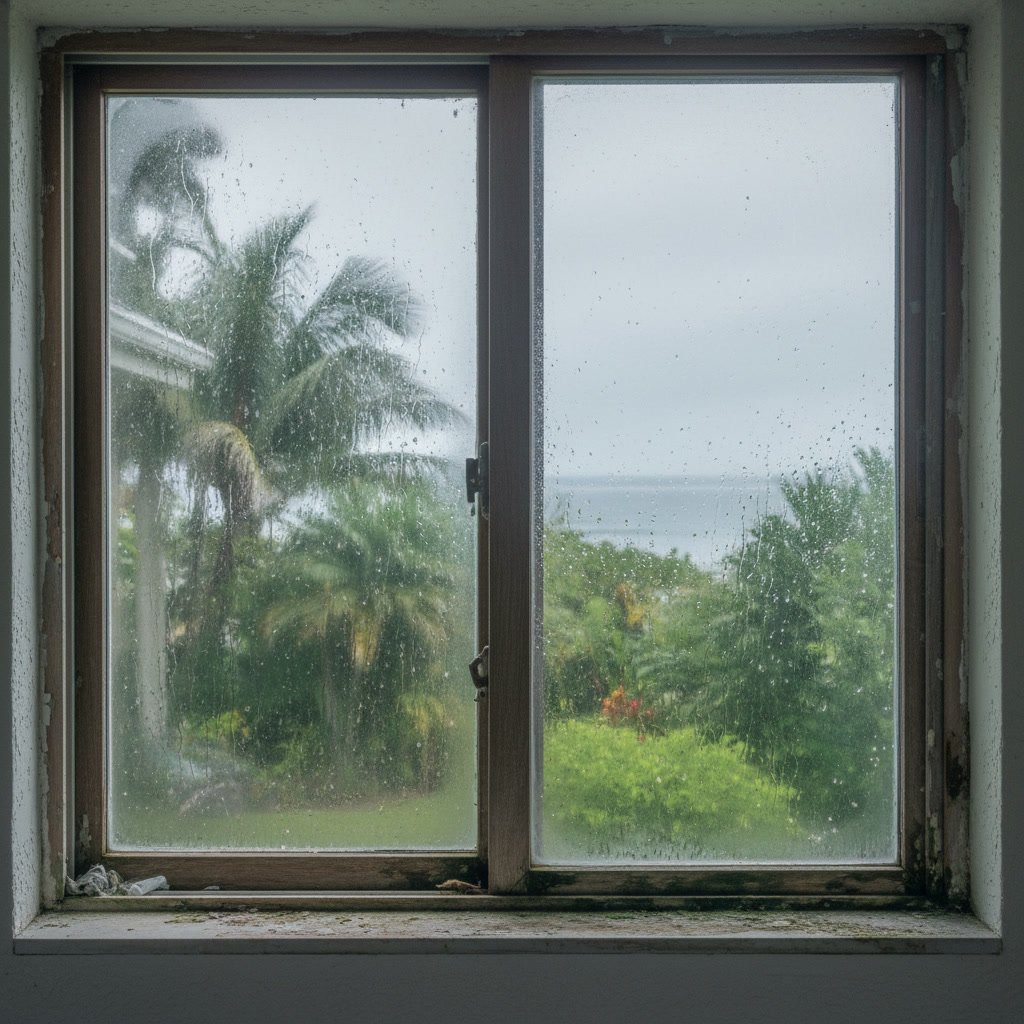
The removal phase exposes your home’s underlying structure, revealing issues that weren’t visible from the exterior. Experienced crews in Acadiana know that Louisiana’s humidity often creates hidden moisture damage behind old siding, particularly around windows, doors, and foundation lines. Identifying these problems during removal prevents costly callbacks and ensures your new siding attaches to sound substrates.
Structural Repairs and Substrate Evaluation
Once the old siding is off, installers inspect every inch of sheathing, looking for rot, insect damage, or structural defects. Any compromised sections get replaced with new oriented strand board or plywood that matches your wall thickness. This step is non-negotiable because siding fasteners need solid backing to hold properly through wind events and thermal cycling.
Professional teams also address any framing issues discovered during this phase. Studs weakened by termites or water damage get sistered with new lumber. Warped sections get shimmed to create flat, plumb surfaces that prevent visible waves in your finished siding. This attention to the underlying structure is what separates installations that last 30-plus years from those that show problems within five.
Installing House Wrap and Moisture Barriers
Modern building science demands a continuous weather-resistant barrier between your sheathing and exterior cladding. Installers apply house wrap in horizontal courses, starting at the bottom and overlapping each upper course over the lower one by at least six inches. This shingle-pattern installation ensures water that gets behind the siding runs down and out rather than finding gaps to penetrate.
Critical areas receive extra attention during this phase. Window and door openings get special flashing tape that integrates with the house wrap, creating a continuous drainage plane. Outside corners, inside corners, and penetrations for electrical boxes or vents all require careful detailing to maintain the moisture barrier’s integrity. Shortcuts here lead to hidden water damage that often doesn’t appear until years after installation.
Step-by-Step Siding Panel Installation Process
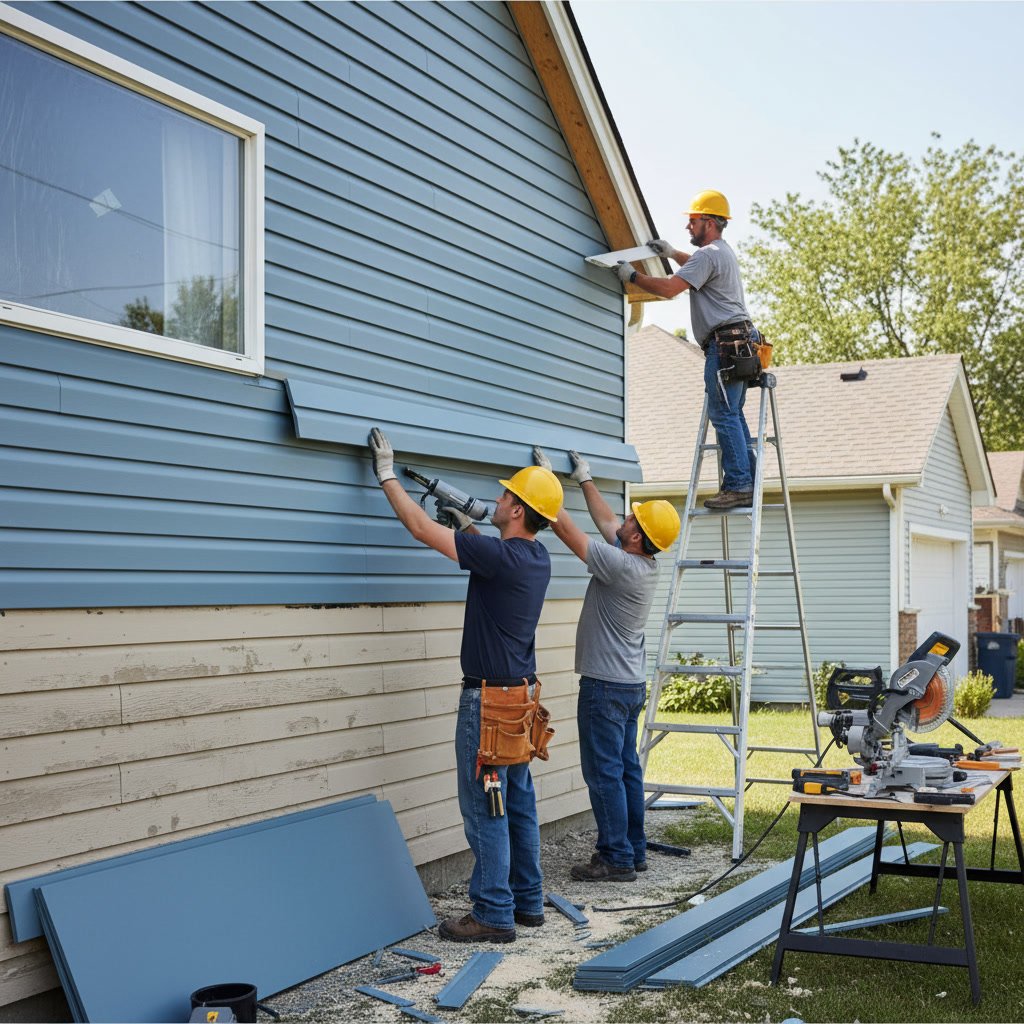
Professional installers begin at the bottom of each wall, establishing a perfectly level starter strip that sets the alignment for every course above it. They use laser levels or long straightedges to verify this critical first row, knowing that even small deviations multiply across dozens of courses.
Each panel locks into the one below and gets fastened through pre-punched slots, never through the face. Fasteners go into studs or solid sheathing at specified intervals, typically every 16 inches horizontally and at each vertical stud location. The installer leaves a small gap at each fastener to allow thermal expansion, preventing buckled panels during hot Louisiana summers.
Panels receive spacing gaps at joints and corners, usually 1/4 inch, to accommodate expansion and contraction. These gaps later get covered by trim pieces, creating clean lines while maintaining necessary movement space. Quality installers check alignment every few courses, making micro-adjustments that keep the pattern straight and true across the entire wall.
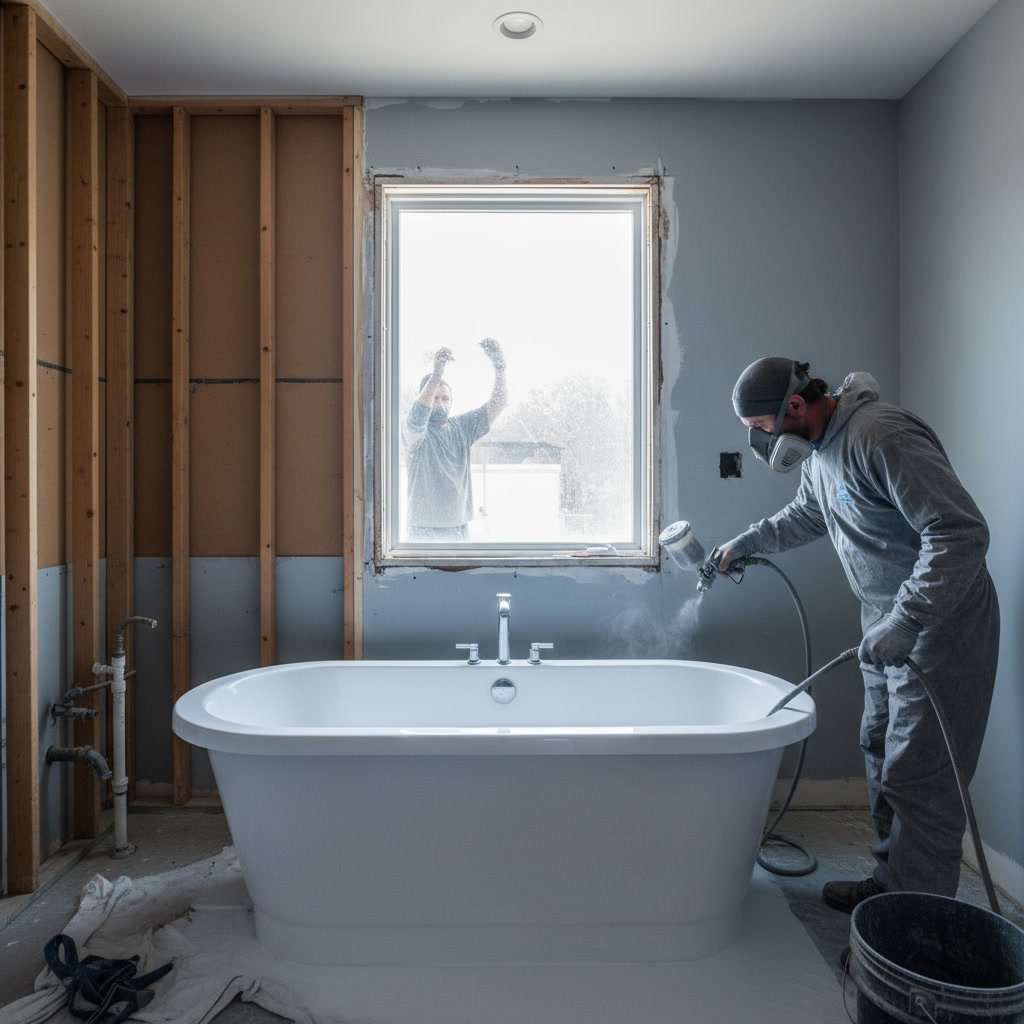
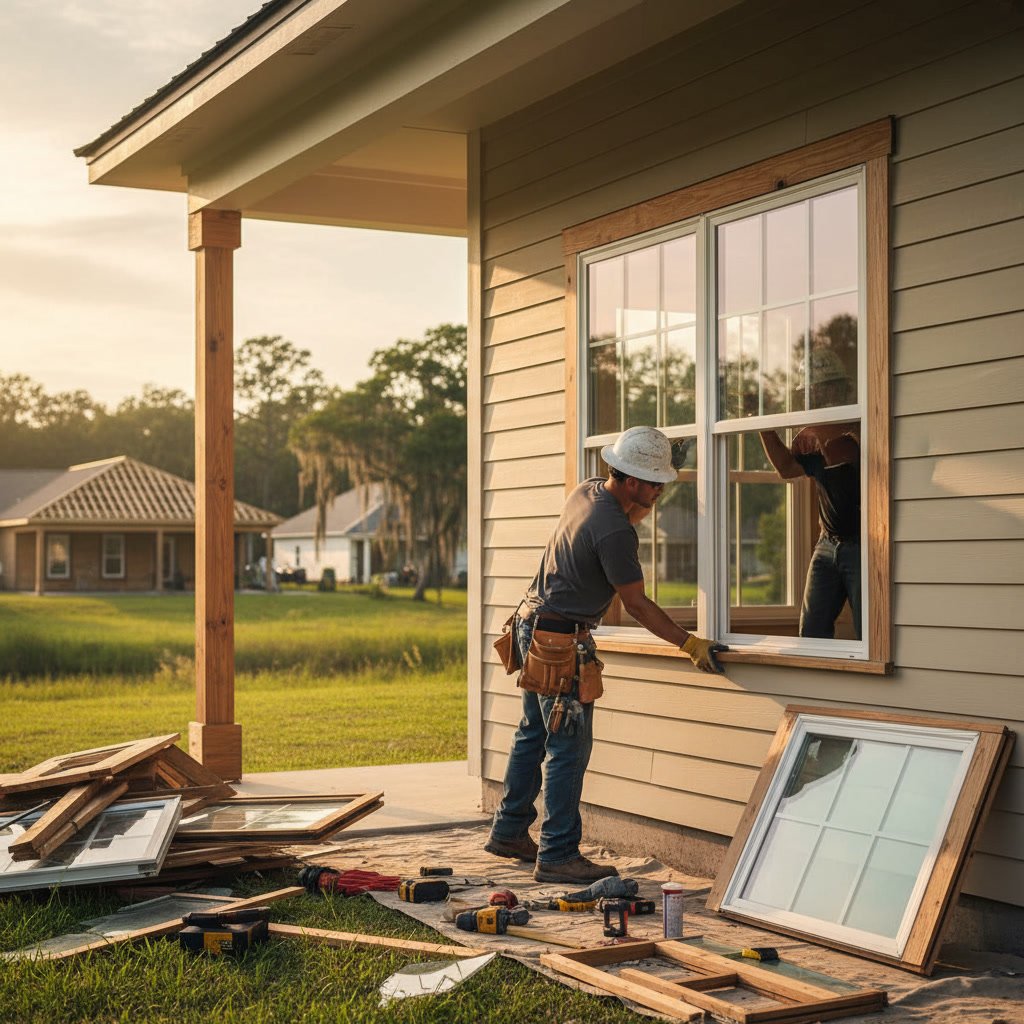
Similar to how window replacement requires precise measurements and proper sealing, siding installation demands exact spacing and flashing integration around openings. Each window and door gets wrapped with trim that sheds water away from the opening while maintaining the overall aesthetic.
Trim Work and Finishing Details
After all field panels are installed, crews focus on trim components that complete the visual appearance and weather protection. Corners receive either mitered cuts or corner posts, depending on your siding style and preference. J-channels frame windows and doors, creating clean terminations that also function as drainage channels.
Soffit and fascia work often accompanies siding projects, particularly when old trim shows age or damage. Professional installers ensure proper ventilation in soffit sections, maintaining attic airflow that prevents moisture buildup and extends roof life. They also verify that all trim pieces lock securely with the siding panels, eliminating gaps where insects or water might enter.
Sealing and Caulking Critical Joints
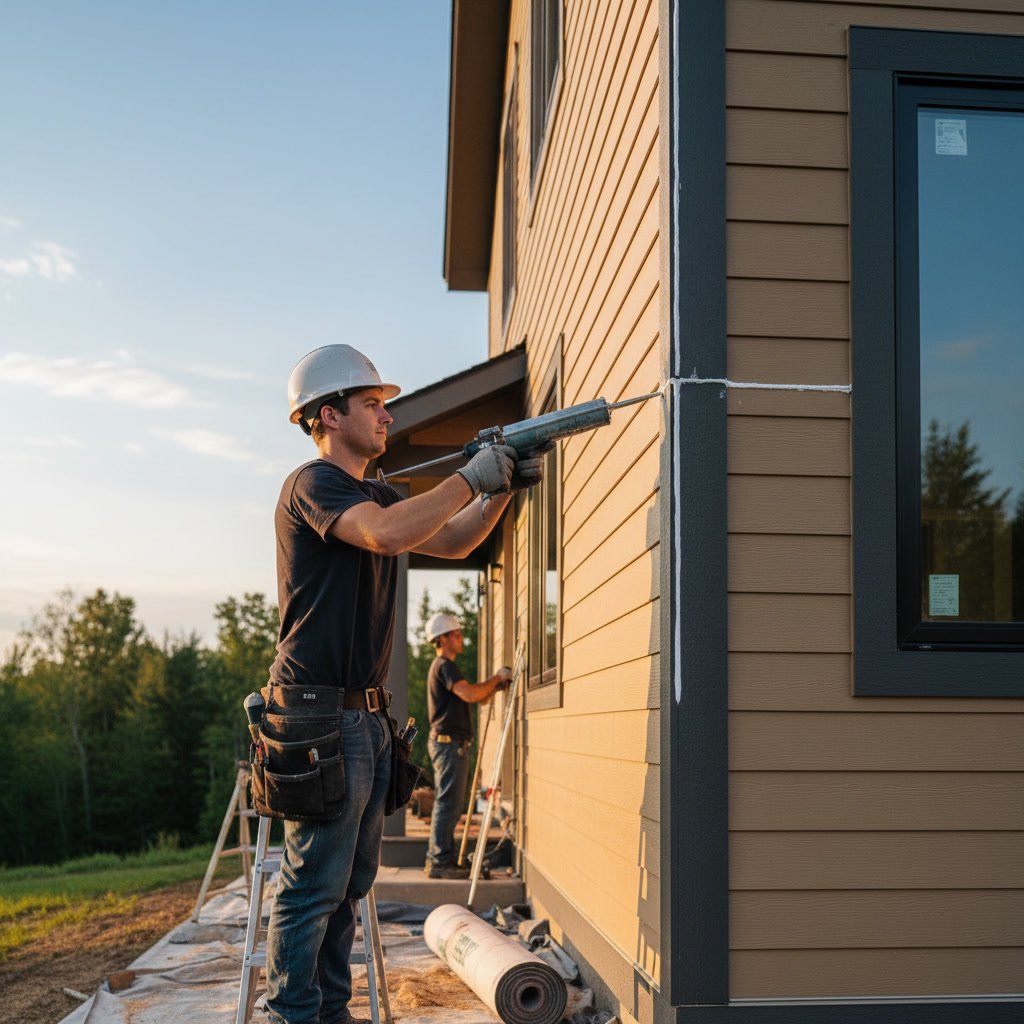
Despite what many homeowners assume, quality siding installations use caulk sparingly and strategically. Over-caulking actually traps moisture and prevents the designed drainage paths from functioning. Professional installers apply sealant only where different materials meet, such as where siding butts against door replacement trim, masonry, or dissimilar surfaces.
They use paintable, flexible sealants rated for exterior exposure and compatible with your siding material. Acrylic latex or polyurethane formulations accommodate movement without cracking or pulling away. Installers tool each bead smooth, creating concave profiles that shed water rather than collecting it.
Quality Assurance and Final Inspection
Before declaring the job complete, professional crews conduct a thorough walk-through checking for loose panels, missed fasteners, or damaged sections. They verify that all trim pieces sit flush and secure, test that soffit vents remain unobstructed, and confirm that every seam and joint meets manufacturer specifications.
Many quality contractors also invite homeowners to join this inspection, pointing out specific features and explaining maintenance requirements. This educational component helps you understand what to look for during your own periodic checks and reinforces the value of proper installation techniques.
Cleanup and Site Restoration
A professional installation includes complete debris removal, not just hauling away old siding. Crews sweep and rake your landscaping, removing nails, fasteners, and small trim pieces that could damage lawn equipment or injure family members. They restore any disturbed plantings and verify that no tools or materials remain on your property.
Magnetic sweepers often make final passes around the work area, capturing stray fasteners that conventional cleanup might miss. Quality contractors understand that this final impression matters just as much as the installation itself, and they leave your property cleaner than they found it.
Homeowners who invest in professional siding replacement often discover related needs during the process. Just as understanding how often you should replace exterior siding helps with long-term planning, knowing when to address other exterior components creates comprehensive protection strategies for your home.
Protecting Your Investment for Decades
A professional siding replacement installation transforms your home’s weather resistance, energy efficiency, and curb appeal when executed properly. The systematic approach, from substrate repair through final cleanup, ensures your new siding performs as the manufacturer intended. Quality installation eliminates the moisture intrusion, structural stress, and premature failure that plague shortcuts and rushed work.
AMERICA’S BEST CHOICE OF Acadiana, LA brings manufacturer-certified installation teams and comprehensive training to every project, ensuring your siding replacement meets both product specifications and local building standards. The investment in proper installation pays dividends through extended material life, maintained warranties, and reduced maintenance needs over the decades your siding protects your home. Schedule your consultation with +13372642585 to discuss your siding project and receive a detailed timeline tailored to your home’s specific requirements.